RemixやNext.jsなどのフレームワークを使うとウェブアプリケーションのフロントエンドとバックエンドを素早く実装できるようになりました。また、VercelやCloudflareなどのサービスを使うと成果物をすぐにデプロイし、チームメンバーやお客さまに共有できます。
ただ、業務の中では、いろいろな制約からVercelやCloudflareが使えず、AWSを使うことも多いと思います。そして同じようなことをAWSで実現するためにはノウハウが必要で、検証する時間がもったいないと思っていました。 今回紹介するArchitectというフレームワークは、AWSに関数型Webアプリケーション(FWA)をデプロイするベストプラクティスをまとめて提供しており、試したところ、これであれば、VercelやCloudflareを使っている時のような高い生産性をAWSでも発揮できる可能性を感じています。
この記事では、Remixで作ったウェブアプリケーションをArchitectを使ってAWSにデプロイする流れを紹介します。
Remixについて
RemixはWeb標準の技術を使って、モダンのWebアプリに求めらるUXを実現することにフォーカスしたフルスタックWebフレームワークです。Nodeの代わりにWeb Fetch API上に構築されており、Cloudflare Workerをはじめ、どこでも実行可能です。
関数型Webアプリケーション(FWA)について
関数型Webアプリケーション*1は、関数型プログラミングにヒントを得たアーキテクチャです。「サーバレス」という言葉で表現されているものに似ていますが、「サーバレス」はクラウド機能からコンテナで動作する実際のウェブサーバーインスタンスまで、あらゆるクラウドベンダーのテクノロジーを包含しており、アプリケーションのアーキテクチャとしては曖昧です。 関数型Webアプリケーションの提唱者の一人のBrian Lerouxさんの言葉を借りると
Said plainly, FWA is implicitly serverless; but not all serverless applications are an FWA.
わかりやすく言えば、FWAは暗黙的にサーバーレスです。しかし、すべてのサーバーレス・アプリケーションがFWAというわけではありません。(訳は私が考えました)
https://begin.com/blog/posts/2022-03-07-introducing-functional-web-apps
ということです。
Architectについて
Architect*2はAWS上にFWAを構築するためのフレームワークです。すぐに開発を始められるローカル開発環境に、よくあるユースケースに最適化されつつ、変更可能なコンフィグ、コードで定義するインフラなど、開発者がアプリケーションに実装するための機能が揃っています。
Architectを試す
ローカルで動かすだけであればAWSアカウントは不要です。以下の手順で試してみましょう。
npm init @architect hello-architect
hello-architectディレクトリが作成されて、プロジェクトが初期化されます。初期化が終わったら移動してローカル開発用のサーバを起動します。
npx arc sandbox
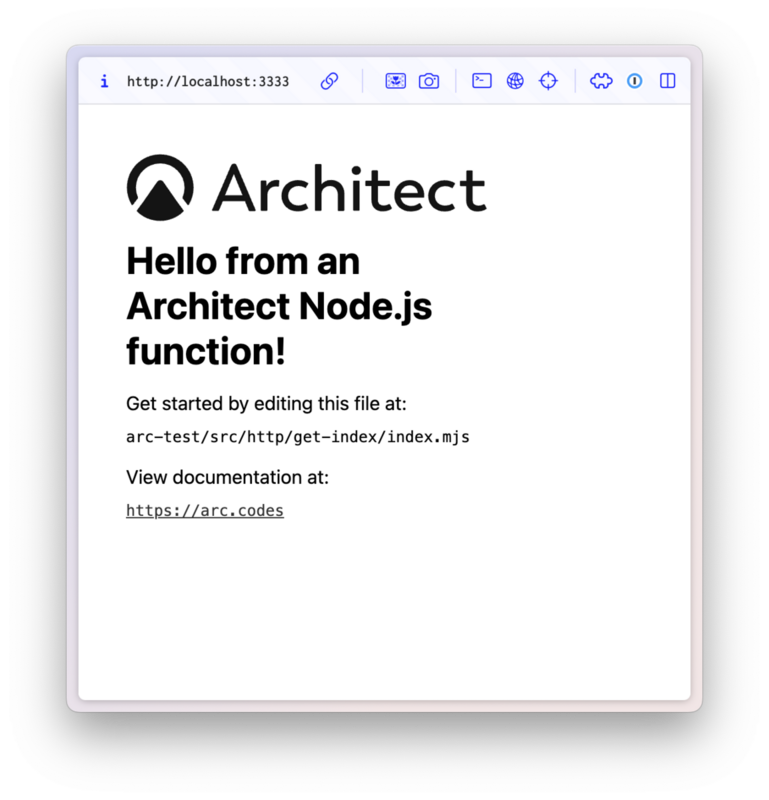
http://localhost:3333にアクセスすると、以下のような画面が表示されます。

src/http/get-index/index.mjsを見てみるとなんとなくやっていることがわかると思います。
// learn more about HTTP functions here: https://arc.codes/http
export async function handler (req) {
  return {
    statusCode: 200,
    headers: {
      'cache-control': 'no-cache, no-store, must-revalidate, max-age=0, s-maxage=0',
      'content-type': 'text/html; charset=utf8'
    },
    body: `
<!DOCTYPE html>
<html lang="en">
<head>
  <meta charset="UTF-8">
  <meta name="viewport" content="width=device-width, initial-scale=1">
  <title>Architect</title>
  <style>
     * { margin: 0; padding: 0; box-sizing: border-box; } body { font-family: -apple-system, BlinkMacSystemFont, sans-serif; } .max-width-320 { max-width: 20rem; } .margin-left-8 { margin-left: 0.5rem; } .margin-bottom-16 { margin-bottom: 1rem; } .margin-bottom-8 { margin-bottom: 0.5rem; } .padding-32 { padding: 2rem; } .color-grey { color: #333; } .color-black-link:hover { color: black; }
  </style>
</head>
<body class="padding-32">
  <div class="max-width-320">
    <img src="https://assets.arc.codes/logo.svg" />
    <div class="margin-left-8">
      <div class="margin-bottom-16">
        <h1 class="margin-bottom-16">
          Hello from an Architect Node.js function!
        </h1>
        <p class="margin-bottom-8">
          Get started by editing this file at:
        </p>
        <code>
          arc-test/src/http/get-index/index.mjs
        </code>
      </div>
      <div>
        <p class="margin-bottom-8">
          View documentation at:
        </p>
        <code>
          <a class="color-grey color-black-link" href="https://arc.codes">https://arc.codes</a>
        </code>
      </div>
    </div>
  </div>
</body>
</html>
`
  }
}
handler関数でhtmlをレスポンスしていて、FWAの名前の通りの実装だと思いますが、この粒度でアプリケーションを実装するのは大変そうですね1。 そこで、Remixです。RemixをArchitectに対応させるプラグインがあるので、これを使うことで、開発者はRemixを使ってアプリケーションを実装し、デプロイはArchitectに任せることができます。またArchitectが提供しているDBやキューなどの機能をRemixから使うこともできます。
RemixとArchitectを組み合わせる
Remixでプロジェクトを作成し、そこにArchitectを導入してみましょう。
bun create remix@latest
プロジェクト名などを聞かれるので入力してください。作成が完了したら、プロジェクトに移動してローカル開発用のサーバを起動します。
bun dev
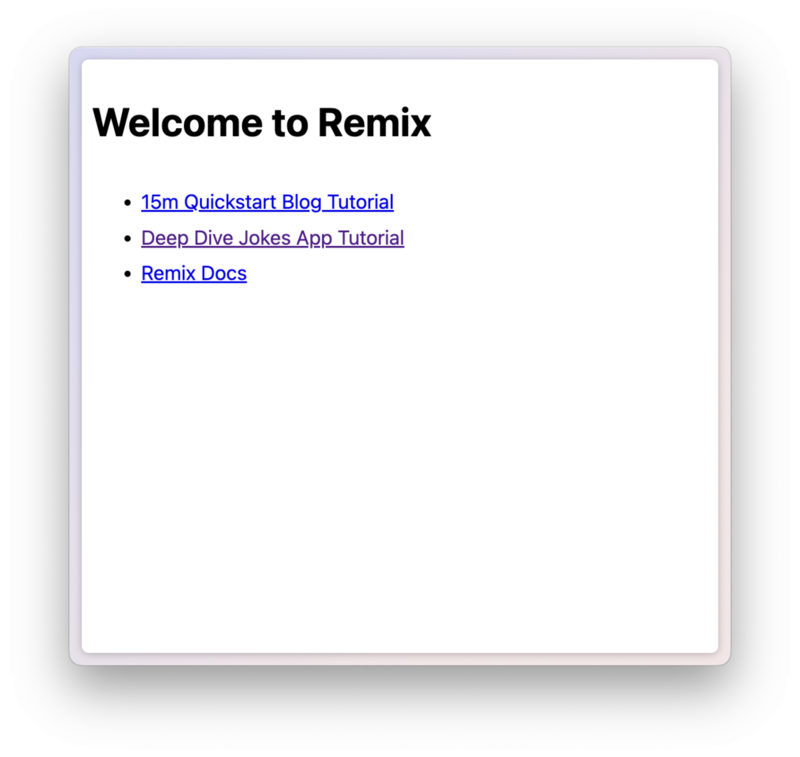
http://localhost:3000にアクセスすると、以下のような画面が表示されます。

では、ここにArchitectを導入してみましょう。まずは、ArchitectとArchitectのRemixプラグインをインストールします。
bun add @architect/architect @remix-run/architect
ArchitectのRemixプラグインは現在開発途中のため、一部のコードがプラグインに含まれていません、plugin-remix.js, server.tsというファイルを作成し、以下のように記述します。
// plugin-remix.js
// This should eventually be a npm package, but for now it lives here.
// Its job is to notify the remix dev server of the version of the running
// app to trigger HMR / HDR.

import * as fs from "node:fs";
import * as path from "node:path";

import { logDevReady } from "@remix-run/node";

const buildPath = "server/index.mjs";

let lastTimeout;

export default {
  sandbox: {
    async watcher() {
      if (lastTimeout) {
        clearTimeout(lastTimeout);
      }

      lastTimeout = setTimeout(async () => {
        const contents = fs.readFileSync(
          path.resolve(process.cwd(), buildPath),
          "utf8",
        );
        const manifestMatches = contents.matchAll(/manifest-([A-f0-9]+)\.js/g);
        const sent = new Set();
        for (const match of manifestMatches) {
          const buildHash = match[1];
          if (!sent.has(buildHash)) {
            sent.add(buildHash);
            logDevReady({ assets: { version: buildHash } });
          }
        }
      }, 300);
    },
  },
  set: {
    env() {
      // Pass matching env variables through to the application in dev mode.
      const passthruKeys = /^NODE_ENV$|^REMIX_DEV_/;
      return {
        testing: Object.fromEntries(
          Object.entries(process.env).filter(([key]) => passthruKeys.test(key)),
        ),
      };
    },
  },
};
// server.ts
import { createRequestHandler } from "@remix-run/architect";
import * as build from "@remix-run/dev/server-build";

export const handler = createRequestHandler({
  build: { ...build, isSpaMode: false },
  mode: process.env.NODE_ENV,
});
次にArchitectのマニフェストファイルを作成します。app.arcファイルを作成し、以下のように記述します。
@app
remix-architect-example-app

@plugins
plugin-remix
  src plugin-remix.js

@static

@http
/*
  method any
  src server
Remixのconfigを設定します。remix.config.jsファイルの内容を、以下のように変更します。
/** @type {import('@remix-run/dev').AppConfig} */
export default {
  cacheDirectory: "./node_modules/.cache/remix",
  ignoredRouteFiles: ["**/.*", "**/*.test.{js,jsx,ts,tsx}"],
  publicPath: "/_static/build/",
  server: "server.ts",
  serverBuildPath: "server/index.mjs",
  serverModuleFormat: "esm",
};
あとは、npm scriptsのdevコマンドを以下のように変更します。
-    "dev": "remix dev --manual",
+    "dev": "remix dev --manual -c \"arc sandbox\"",
これで、bun devコマンドでローカル開発用のサーバを起動することができます。
bun dev
RemixアプリケーションをArchitectでデプロイする
Architectのデプロイには、AWSのアカウントが必要です。AWSのアカウントを持っていない場合は、以下のページを参考にアカウントを作成してください。
https://arc.codes/docs/en/get-started/detailed-aws-setup#credential
GitHub Actionsなどでワークフローを作ることもできますが、今回はローカルでコマンドを実行してデプロイします。
bun arc deploy --production
初回のデプロイには少し時間がかかると思いますが5分かからないくらいでデプロイできると思います。 デプロイが完了するとログにURLが表示されているので、アクセスしてみましょう。

デプロイしたアプリケーションは以下のコマンドで削除できます。
bun arc destroy --production --app remix-architect-example-app --force
まとめ
Architectを使ってRemixアプリケーションをAWSにコマンド一つでデプロイする流れを紹介しました。ArchitectにはDynamoDBを抽象化したtable機能があり、これを使うとステートフルなウェブアプリケーションをFWAとして実装、公開できます。RemixのGrunge Stackが良いサンプルアプリケーションなので、興味のある方はお試しください。
https://github.com/remix-run/grunge-stack
- handler関数でhtmlをレスポンスする方法で、ノートテイキングアプリを作ったサンプルがあるので見てみると、全体像が掴めると思います。 https://github.com/architect-examples/arc-example-notes↩
*1:https://fwa.dev/ に詳しい定義やこれまでのアーキテクチャとの比較がまとめられています